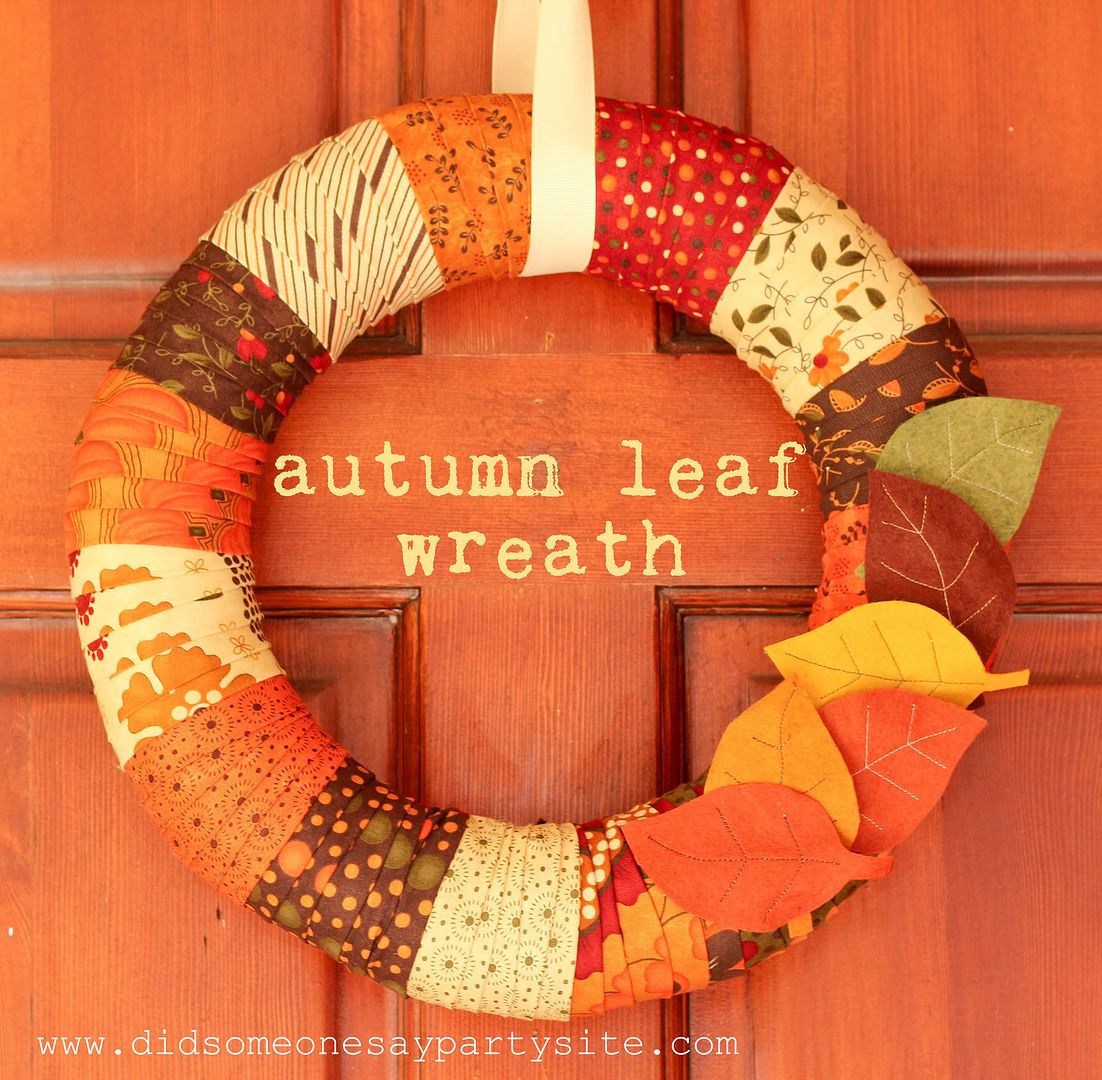
Fall is my absolute favorite time of year! I decided this was the year to use my favorite autumn colors and make a wreath for my front door. This wreath is a quick project and requires little sewing skills (I know, because unlike G, I have mastered very few sewing skills!).
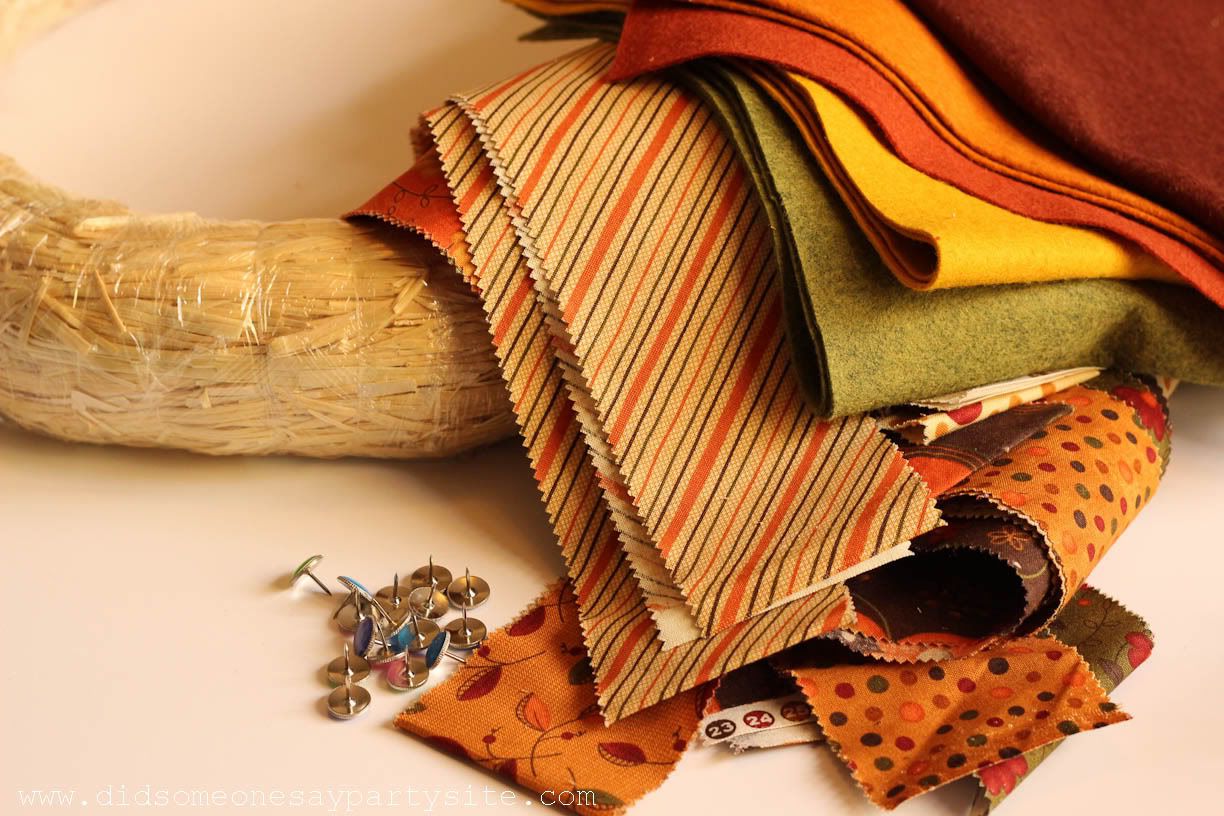
For this project, you need a 14” straw wreath form, a jelly roll of your favorite fabric or 15-2” wide strips of fabric (45” long) in coordinating patterns, some coordinating felt and thumbtacks.
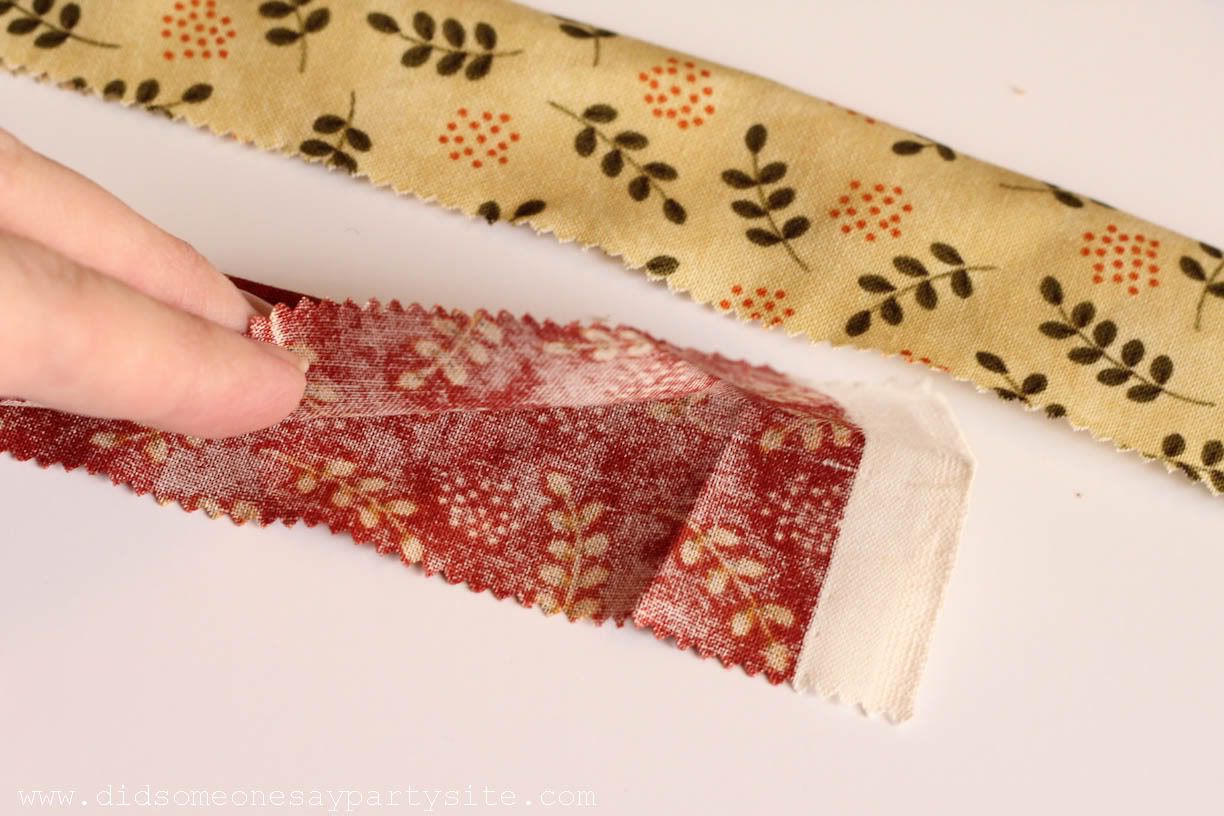
Start by folding your fabric strips in half. No need to iron!
Then tack one end of your first strip on what will be the back of your wreath. I like to start with the selvedge.
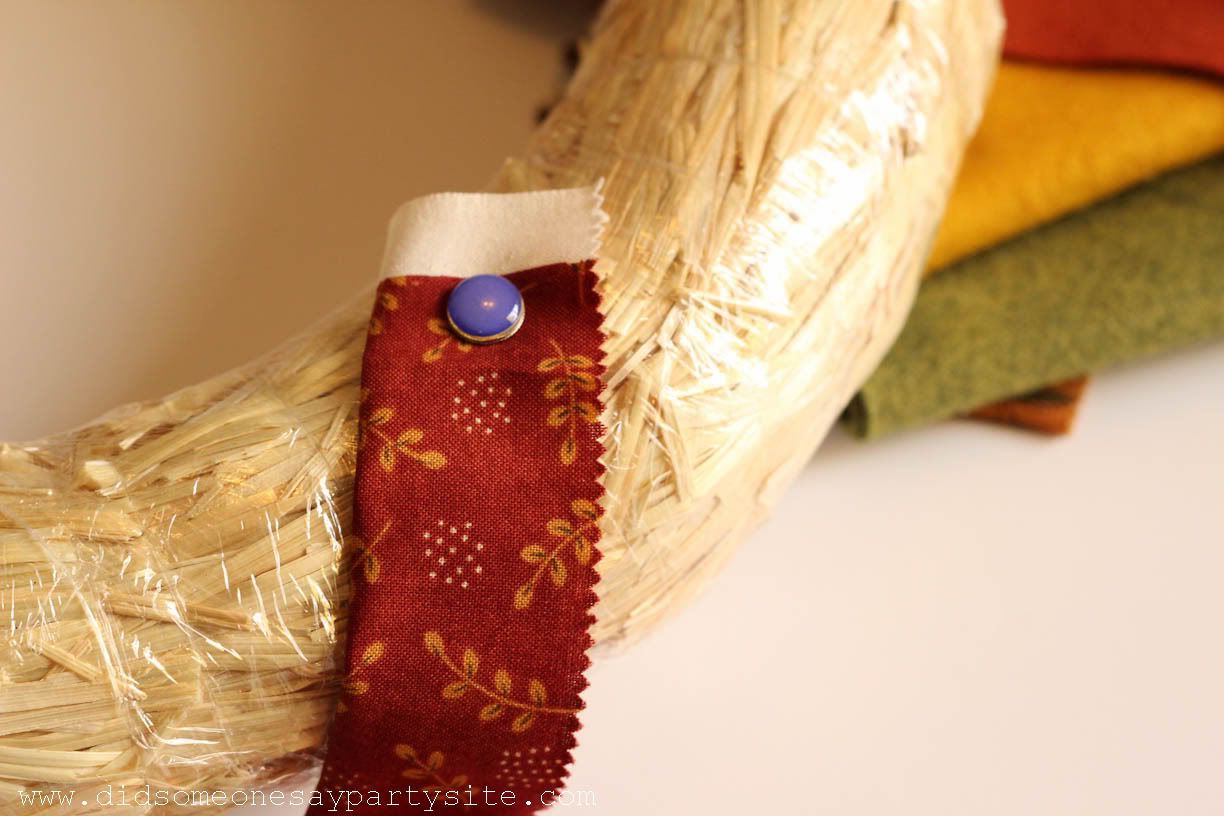
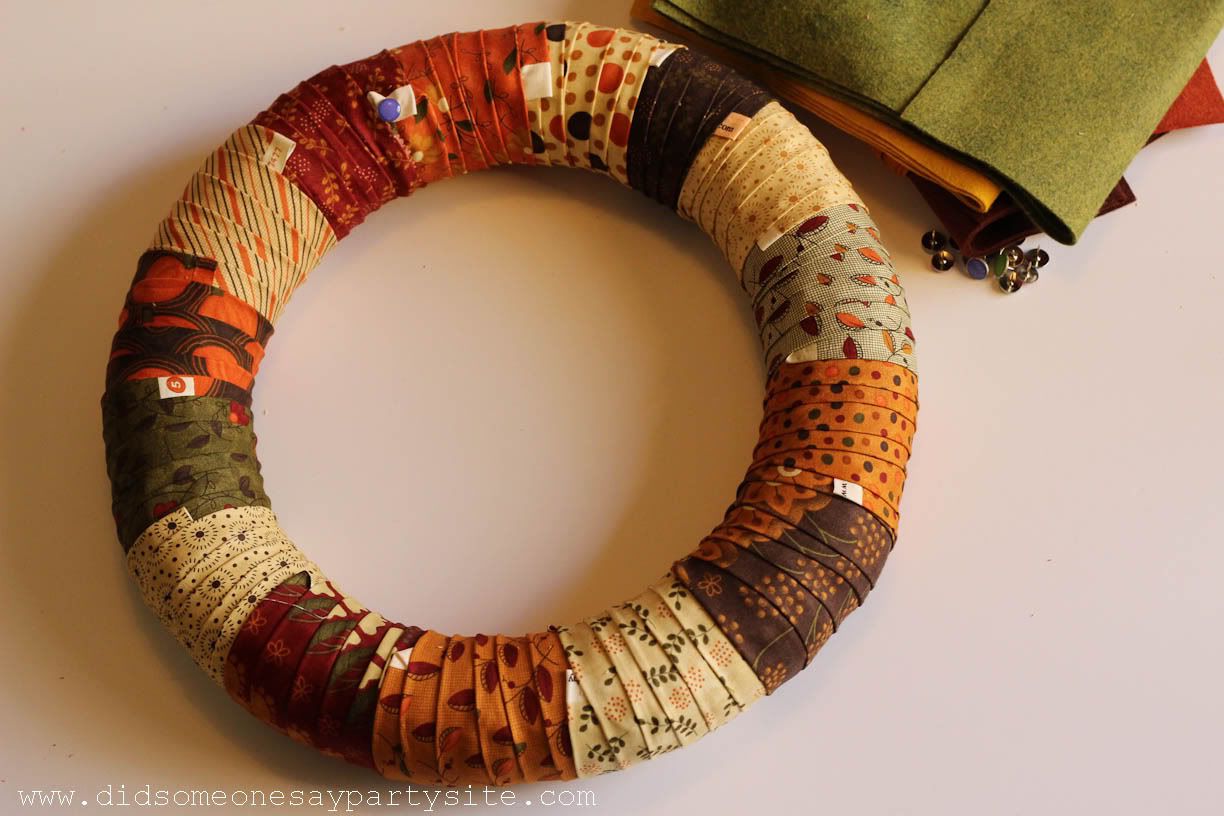
Wrap that first strip around, staggering as you go. When you get to the end, don’t panic if then end is in the front of your wreath. Take your next strip, and starting in the back, lay it directly over the last band of the first strip so you can’t see it. See in the photo below how the pumpkin fabric is put directly over the last band of striped fabric.
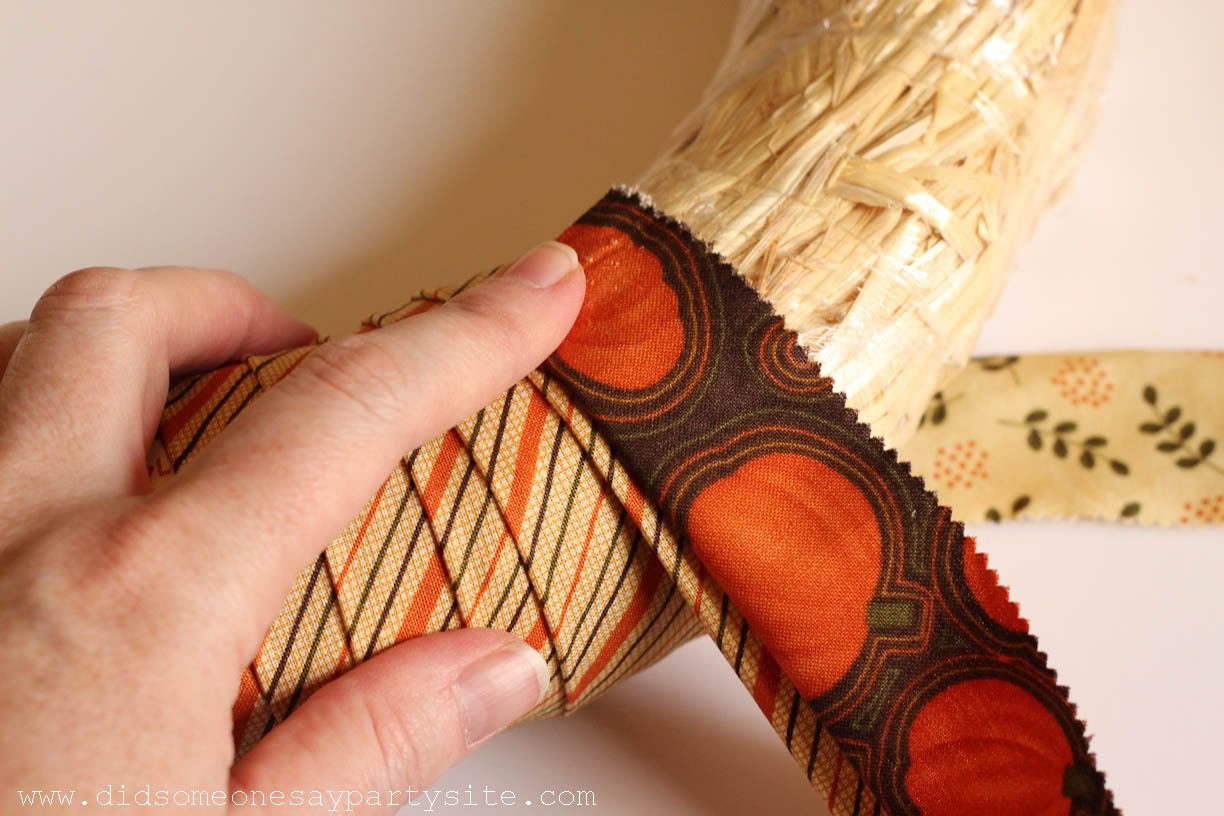
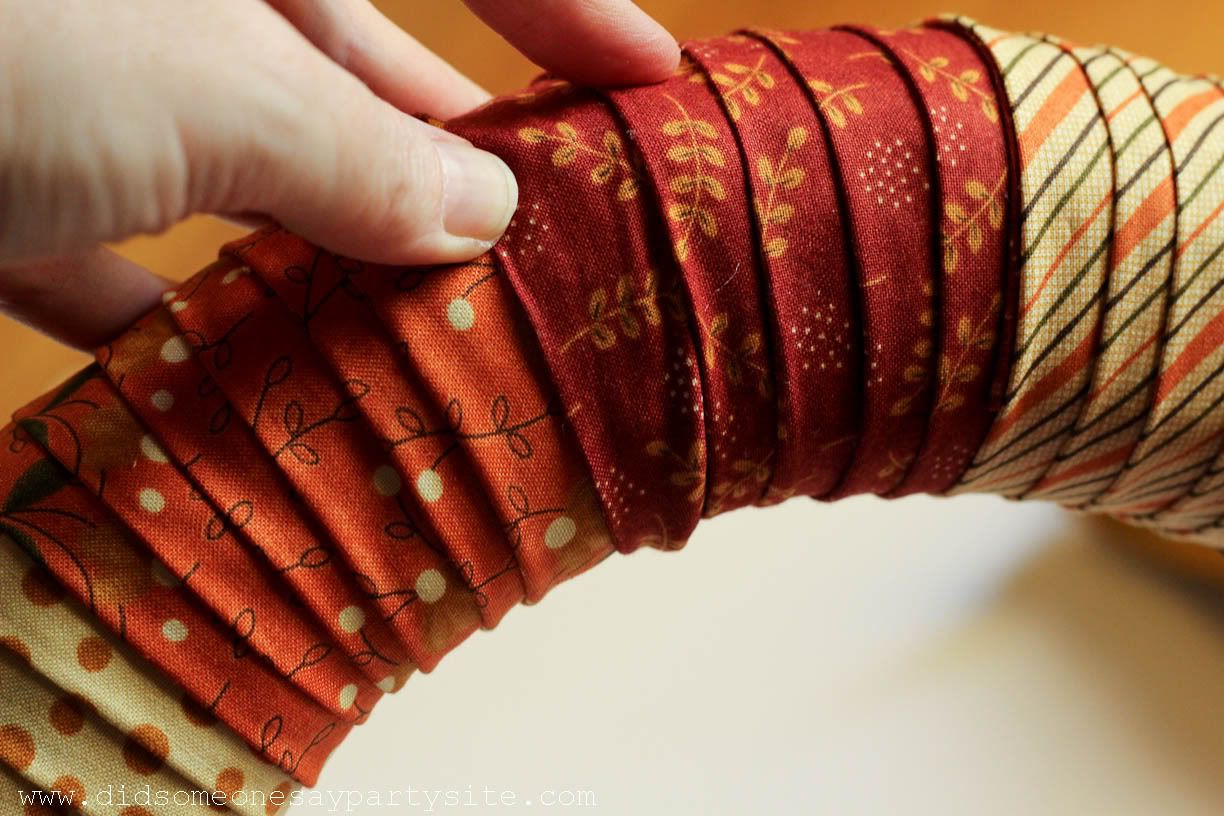
No need to tack it since the next wrap of fabric will secure it in place. This is also a good point to make sure you are staggering colors and color value. I like to alternate with darks and lights to get the most contrast.
Now keep wrapping your strips until you get to the last one. Fold over the first band of the first strip you put in so that you’ll have a spot for the edge of your last strip to hide.
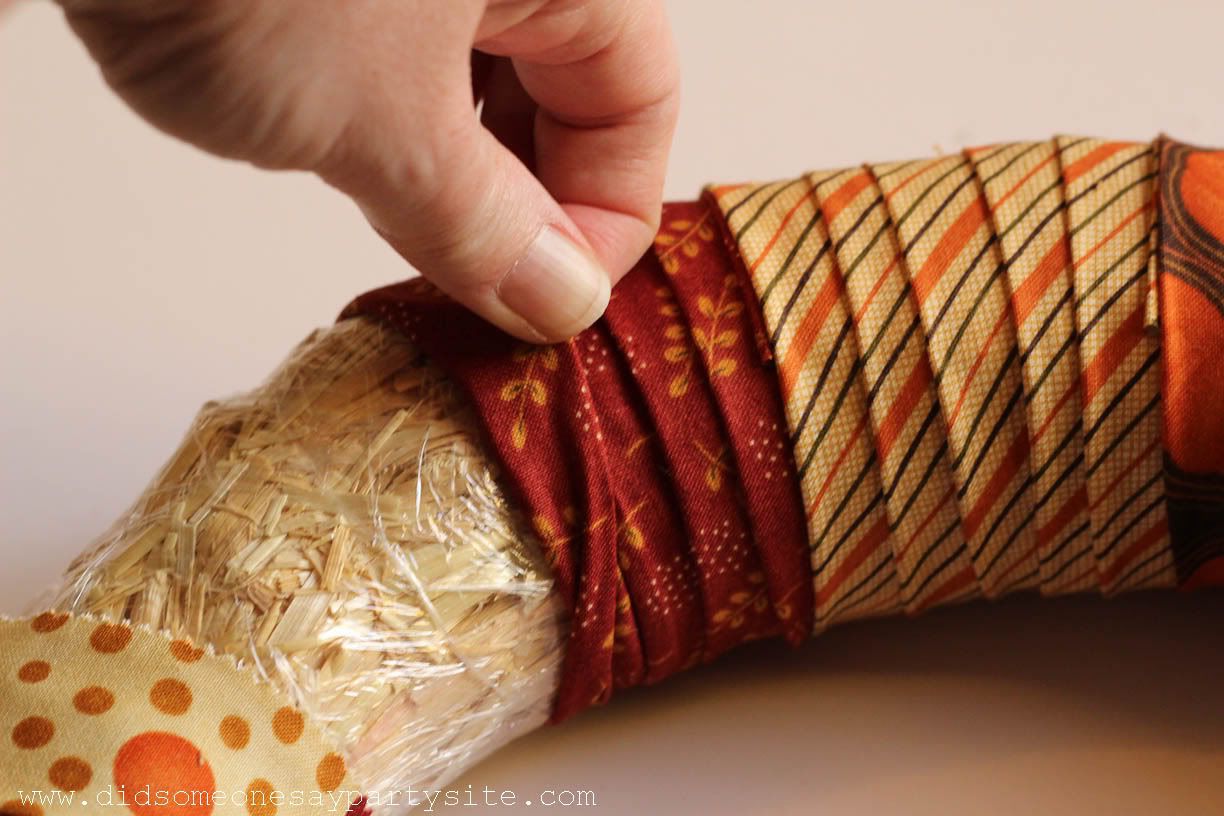
After you wrap your last strip, simply fold this piece back and it will cover the edge of your last strip.
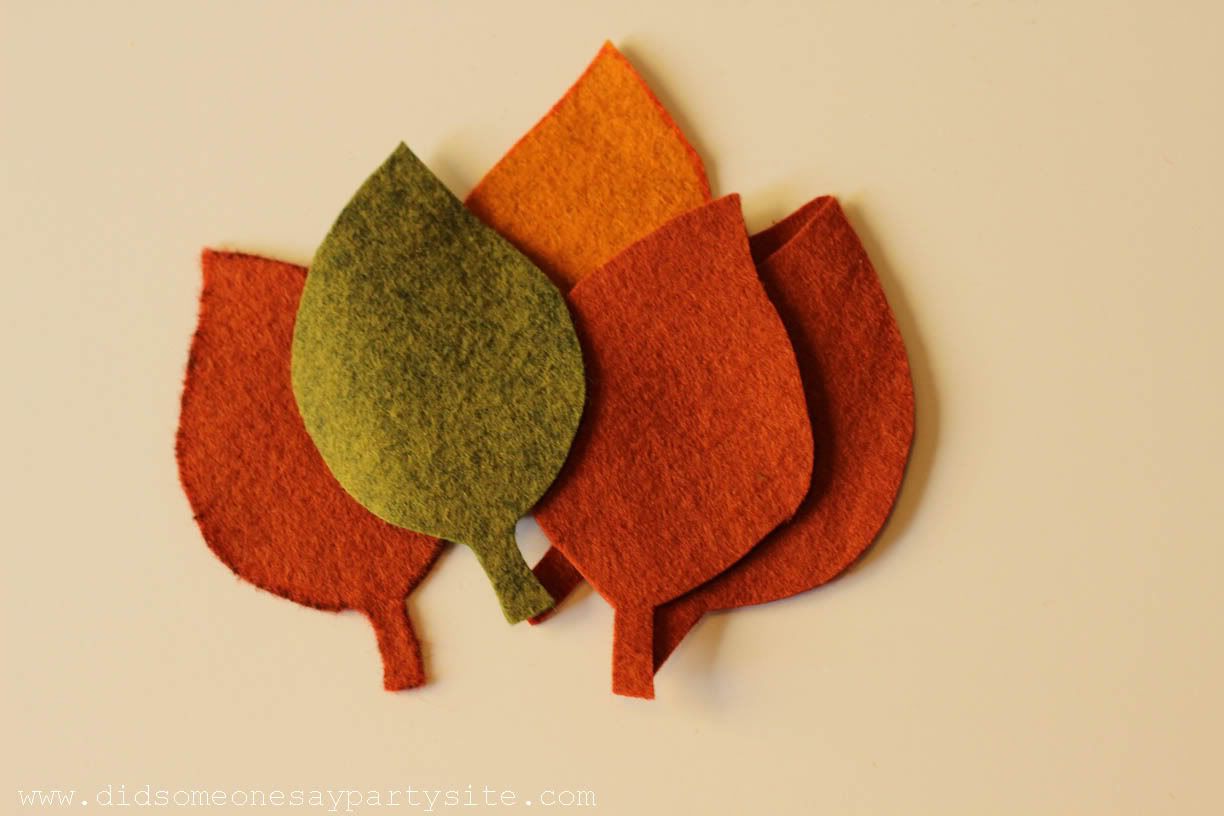
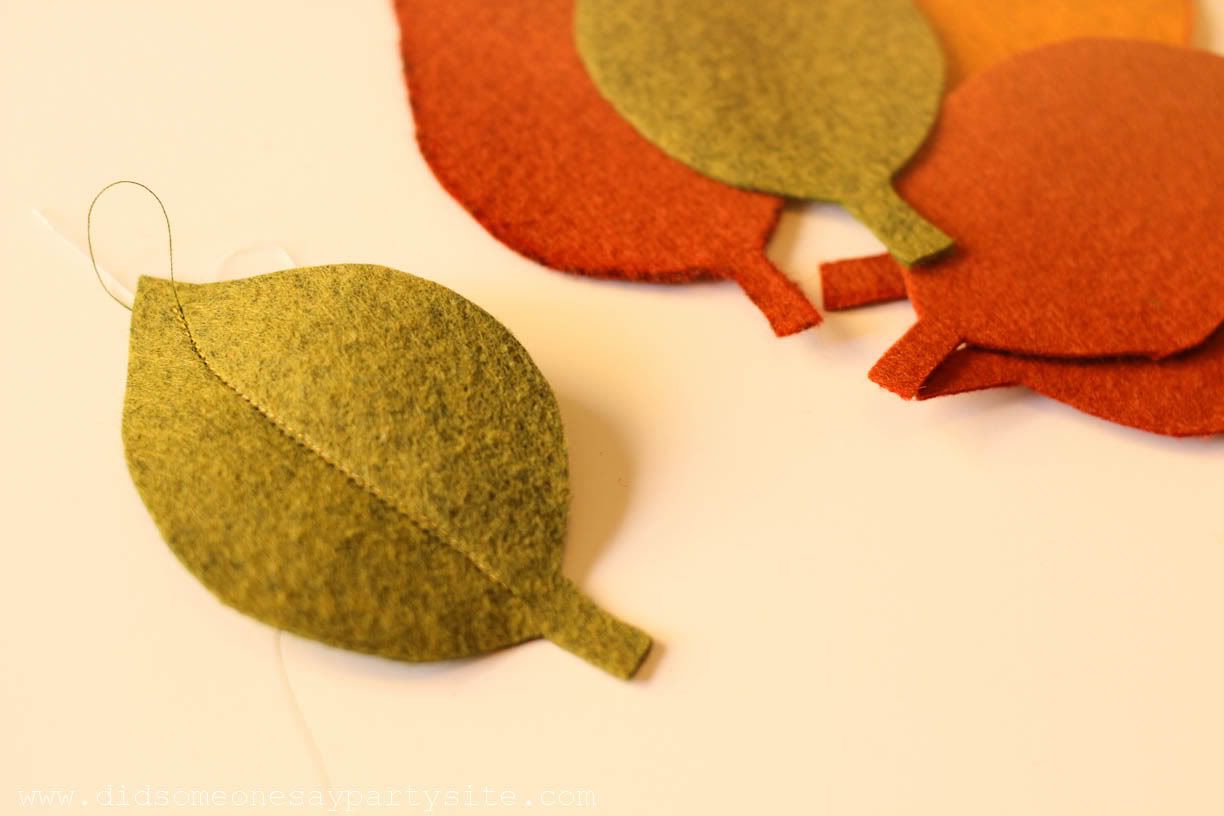
Now the fun part – time to embellish! Start by sketching out a simple leaf pattern on some cardstock or cardboard and cutting it out. Then trace it on your felt pieces and cut them out. (P.S. I cut my leaf pattern on my Cricut and traced it with a Sharpie!) I used 6 on my wreath in various colors. I also made sure to vary the direction of the leaf by flipping my tracing template for a few.
Don’t worry about the Sharpie marks on the edges. Those can easily be hidden by using the other side of the leaf as the front.
Then I selected some contrasting thread and sewed the main vein down the leaf free-hand. If you do not change the bobbin thread (I’m so lazy like that!), just make sure the side with the sharpie outline is down and the good side is up.
This is where NOT sewing a good straight line comes in handy (because honestly, I can’t for the life of me sew straight!). Your leaf will look more authentic if you curve and angle your line a bit. You may decide to go all the way down the stem – I thought it looked better if I stopped before the stem.
Then add more veins at about 1/3, 1/2 and 2/3 of the way down the leaf. If you start at one side, stop with your needle down at the center vein, lift your foot, and spin the leaf to sew the other way.
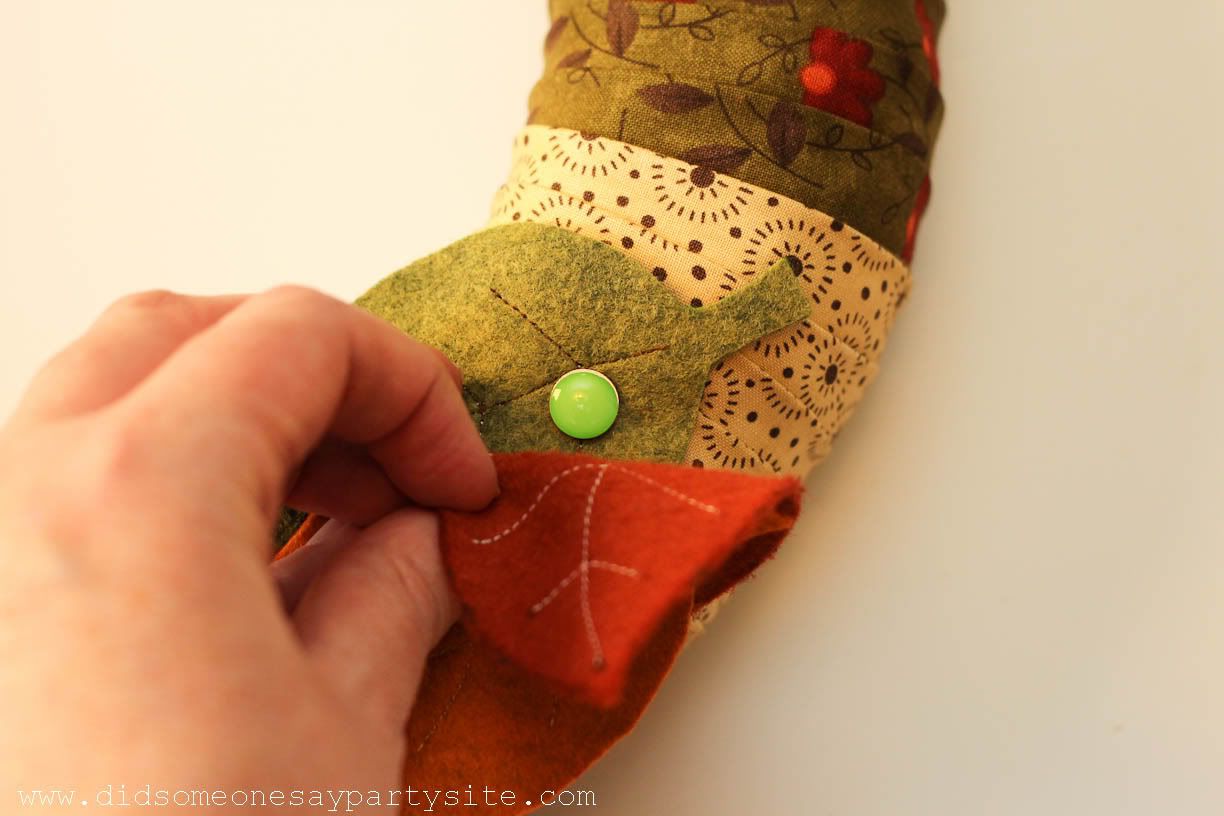
Trim the threads and layout the leaves until you find a pattern you like. Then attach them. You could use hot glue but I was too impatient and used more tacks – I just made sure to hide them under the top leaves. On the top one I used some good double sided tape to secure. This way if I ever decide to use that cute fabric for another project, I have the option of pulling it off without a problem!
Tie a ribbon for a hanger and you are set for fall!
Thanks to the lovely ladies of the CSI Project for letting me share this project with you today! We hope you’ll come by to visit us at Did Someone Say Party. You’ll find lots of ideas for handmade touches (from craft projects to food) for just about any celebration you are planning! Happy Fall!
Linking to:








0 comments:
Post a Comment